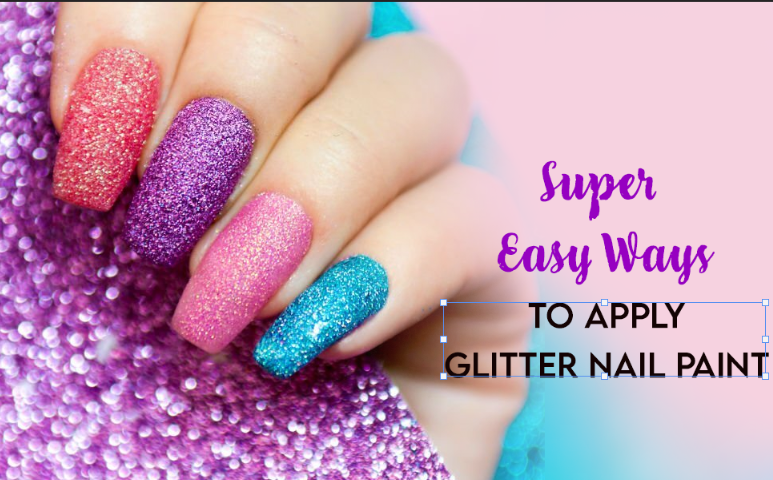
All those glitters may not be gold but it surely gives your nails a picture-perfect look and sparkling finish. Applying glitter nail paints magnifies the styling quotient and looks casual and sophisticated both, all depending on what you are wearing. Be it a high shine, chick matte, or glossy, the latest nail trends are all about adding an extra oomph of glamour to the freshly polished nails.
Glitter nail paint designs are a few of the nail art ideas that make it to the top chart of manicure lovers and add such a whimsical vibe to the hands. Let’s get real; applying glitter nail paint can be a little tricky! And if you wish to get that flawless and smudge-proof finish, take a look at this step-to-step guide to applying glitter nail polish and be your own manicurist at home!
How to Apply Glitter Nail Paint?
Wipe off Any Remaining Nail Paint
The first step is to clean the nails before painting them. You can swipe a cotton ball soaked in nail polish remover and clean any leftover nail paint, oil, or dirt accumulated around the edges of the nail. The liquid nail polish remover is an effective product that prepares the nails by deep cleaning, softening, and removing all the dust and grease settled in the nail bed. Cleaning the nail bed before applying a base coat or nail color gives an even manicure and also leaves behind an ultimate shine and glossy finish.
Start Applying Base Coat
As the name says it all, a base coat protects the nails from any kind of damage. A lot of people think applying a basecoat is not required, but it is extremely important to put it on the bare nails to extend the span of nail paint and also ensure that nails don’t get chipped. Prep your nails by filing them first and then applying the base coat. Before you begin using Glitter Nail Paint, using this base product will work to retain the moisture and prevent the nails from breaking and prevents nail paint from getting stained.
Use a Make-up Sponge to Dab Nail Paint
After applying the base coat, the simplest way to create a show-stopping glitter DIY manicure is by applying the nail paint using a make-up sponge. Pick any unused or clean make-up sponge and apply nail paint on its tip. Now dab the nail paint using the sponge all over the nail till it’s fully covered with glitters. The idea behind using this hack is that texture of the make-up sponge will absorb the liquid color and leave a seamless glitter coat on the nails.
Cover with Top Coat
Want your glitter nail paint’s color to pop more and shine without chipping or fading. Get a top coat product that doubles up to increase the longevity of the color. It keeps the nail paint away from getting stained and seals the nail paint from chipping and protects your nail manicure. To make your glitter nail paint hi-sheen and a finish of super glossy shine, coat your nails with a top coat and make your nails look IG worth manicure design.
Important Nail Care Tips to keep in Mind
And by keeping the following tips in mind, you can take better care of your nails and make them look stunning as Well.
